(Created page with "{{Infobox homebrew | title = Progres 3D | image = File:Progres3dds.PNG | type = Demo | version = 29/10/2008 | licence = Mixed | author = Co...") |
No edit summary |
||
| (14 intermediate revisions by the same user not shown) | |||
| Line 1: | Line 1: | ||
{{Infobox | {{Infobox DS Homebrews | ||
| title | |title=Progres 3D | ||
| image | |image=Progres3d2.png | ||
| | |description=A series of 3D textures and models. | ||
| | |author=Cobain | ||
| | |lastupdated=2008/10/29 | ||
| | |type=Demos | ||
| website | |version=2008 | ||
|license=Mixed | |||
|download=https://dlhb.gamebrew.org/dshomebrew/progres3d.7z Part 1-13 | |||
|website=http://www.kracus.eu/index.php?id=12 | |||
}} | }} | ||
Progres 3D (French) is a homebrew project for the NDS. It contains some demos with the use of the 3D openGL lib, which is exportable on many platforms such as linux, mac, windows, java, python, NDS, etc. | |||
==User guide== | ==User guide== | ||
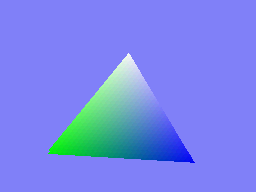
Part I - A pyramid with some lighting effects. | |||
A pyramid with some lighting effects | |||
https://dlhb.gamebrew.org/dshomebrew/progres3d.png | |||
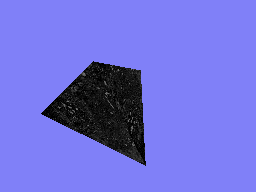
Part II - Same pyramid with a texture of stone. | |||
https://dlhb.gamebrew.org/dshomebrew/progres3d2.png | |||
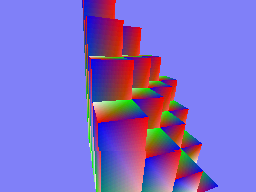
Part III - Load from a map. This version is not optimized. | |||
https://dlhb.gamebrew.org/dshomebrew/progres3d3.png | |||
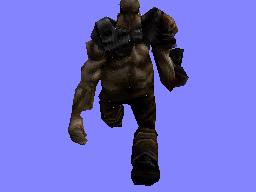
Chose MD2 to use thanks to smealum.This is the first 3D application with interaction, run by pressing the up arrow. | Part IV - Chose MD2 to use thanks to smealum. This is the first 3D application with interaction, run by pressing the up arrow. | ||
https://dlhb.gamebrew.org/dshomebrew/progres3d4.png | |||
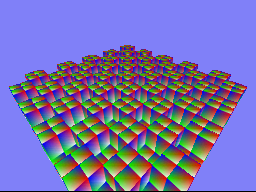
Part V - Almost the same as part III except that here the map can have the size you want, for the example this is a 20x20 map. | |||
The image is taken directly from the DS. To test on your DS you must put the test.bmp and test.md2 files at the root of your flashcard. | |||
https://dlhb.gamebrew.org/dshomebrew/progres3d5.png | |||
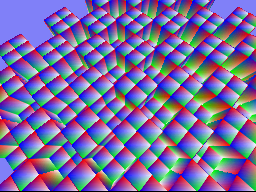
Part VI - Same as the previous part except added camera, which you can move and make it rotate. | |||
As a bonus you have the right to a nice effect which depending on the angle of the camera you do not get the same color rendering. | |||
https://dlhb.gamebrew.org/dshomebrew/progres3d6.png | |||
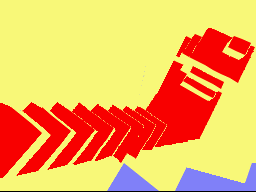
Part VII - Exactly the same as above except that it now loads an external map file map.txt, that you must place at the root of your linker. | |||
To test you must have a flashcard compatible with libFat. | |||
In addition, a yellow color is used for the walls and a red color for the floor. | |||
You can still move the camera in the same way as the previous project. | |||
https://dlhb.gamebrew.org/dshomebrew/progres3d7.png | |||
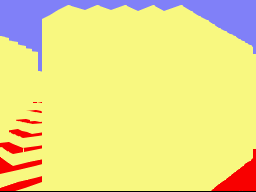
Part VIII - In this version the movements are reviewed, if you press the top arrow you move straight ahead and not in a defined axis. | |||
There is also an optimization of the 3D functions which went from float to fixed point. | |||
https://dlhb.gamebrew.org/dshomebrew/progres3d8.png | |||
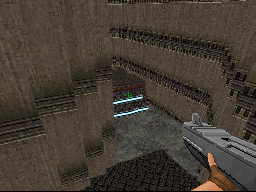
Part IX - Now the displacements are better because before it was galley at the level of the speed of displacement/rotation. | |||
Now the walls have a brick texture rather than a yellow color and the floor has sat its texture instead of its red color. | |||
https://dlhb.gamebrew.org/dshomebrew/progres3d9.png | |||
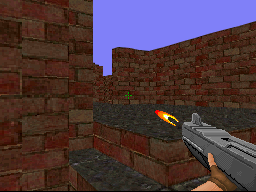
Part X - Looks more like an FPS (the end goal) thanks to the addition of a weapon that Nhut made and a little sound for when you shoot. | |||
At the source level everything has been revised for a cleaner code in several files. | |||
https://dlhb.gamebrew.org/dshomebrew/progres3d10.png | |||
Part XI - Movements are added at the level of the stylus. | |||
https://dlhb.gamebrew.org/dshomebrew/progres3d11.png | |||
Part XII - You can look up or down (be careful there is no hill so if you go too high for a while you will reverse the y axis). | |||
In addition there is now a collision management, which has been setting up in now you will not go past over the walls. | |||
https://dlhb.gamebrew.org/dshomebrew/progres3d12.png | |||
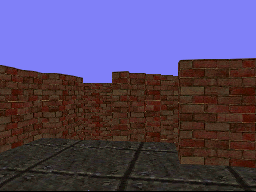
Part XIII - In this super, ultra, hyper, mega, giga version, you can see the appearance of the texture system. | |||
' | So now it's finished having a solid texture for the floor and old bricks for the walls. | ||
https://dlhb.gamebrew.org/dshomebrew/progres3d13.png | |||
==External links== | |||
* Author's website - http://www.kracus.eu/index.php?id=12 | |||
[[Category: | [[Category:DS homebrew applications]] | ||
[[Category:DS homebrew demos]] | |||
Latest revision as of 09:31, 10 February 2022
| Progres 3D | |
|---|---|
 | |
| General | |
| Author | Cobain |
| Type | Demos |
| Version | 2008 |
| License | Mixed |
| Last Updated | 2008/10/29 |
| Links | |
| Part 1-13 Download | |
| Website | |
Progres 3D (French) is a homebrew project for the NDS. It contains some demos with the use of the 3D openGL lib, which is exportable on many platforms such as linux, mac, windows, java, python, NDS, etc.
User guide
Part I - A pyramid with some lighting effects.
Part II - Same pyramid with a texture of stone.
Part III - Load from a map. This version is not optimized.
Part IV - Chose MD2 to use thanks to smealum. This is the first 3D application with interaction, run by pressing the up arrow.
Part V - Almost the same as part III except that here the map can have the size you want, for the example this is a 20x20 map.
The image is taken directly from the DS. To test on your DS you must put the test.bmp and test.md2 files at the root of your flashcard.
Part VI - Same as the previous part except added camera, which you can move and make it rotate.
As a bonus you have the right to a nice effect which depending on the angle of the camera you do not get the same color rendering.
Part VII - Exactly the same as above except that it now loads an external map file map.txt, that you must place at the root of your linker.
To test you must have a flashcard compatible with libFat.
In addition, a yellow color is used for the walls and a red color for the floor.
You can still move the camera in the same way as the previous project.
Part VIII - In this version the movements are reviewed, if you press the top arrow you move straight ahead and not in a defined axis.
There is also an optimization of the 3D functions which went from float to fixed point.
Part IX - Now the displacements are better because before it was galley at the level of the speed of displacement/rotation.
Now the walls have a brick texture rather than a yellow color and the floor has sat its texture instead of its red color.
Part X - Looks more like an FPS (the end goal) thanks to the addition of a weapon that Nhut made and a little sound for when you shoot.
At the source level everything has been revised for a cleaner code in several files.
Part XI - Movements are added at the level of the stylus.
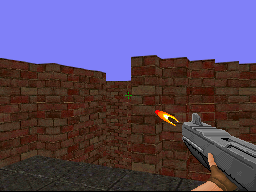
Part XII - You can look up or down (be careful there is no hill so if you go too high for a while you will reverse the y axis).
In addition there is now a collision management, which has been setting up in now you will not go past over the walls.

Part XIII - In this super, ultra, hyper, mega, giga version, you can see the appearance of the texture system.
So now it's finished having a solid texture for the floor and old bricks for the walls.
External links
- Author's website - http://www.kracus.eu/index.php?id=12