| TinyVNC | |
|---|---|
 | |
| General | |
| Author | Badda |
| Type | Utilities |
| Version | 2.0 |
| License | Mixed |
| Last Updated | 2022/06/07 |
| Links | |
| Download | |
| Website | |
| Source | |
TinyVNC is a VNC viewer for Nintendo 3DS. With this homebrew software, you can connect to any computer running a VNC server, see the screen contents and control it with your 3DS.
From Wikipedia, "VNC (Virtual Network Computing) is a graphical desktop-sharing system [...] to remotely control another computer. It transmits the keyboard and mouse events from one computer to another, relaying the graphical-screen updates back in the other direction, over a network". Contrary to RDP (which is Microsoft only), it is platform-independent and thus works with Windows, Linux, MacOS, Android and many more.
Features
- Two independent and fast VNC-viewers for 3DS top and bottom screen.
- Streaming audio client (mp3 over HTTP).
- Cemuhook server for serving 3DS controler and motion data to clients (e.g. Cemu).
- UDP-Feeder client to serve 3DS controler and motion data to remote vJoy via vJoy-udp-feeder.
- supports server or client side scaling if VNC screen size is too big.
Installation
Available in 3DSX, CIA adn 3DS formats.
- CIA - Install .cia with FBI 3DS.
- 3DSX - Run .3dsx from Homebrew Launcher (put 3dsx file in /3ds/TinyVNC dir).
- 3DS - Run .3ds from flash card.
Apart from this, a DSP-dump is required for sound to work correctly in the CIA version.
User guide
VNC server and resolution
TinyVNC has been tested with Windows and with multiple VNC servers.
- TightVNC server seems to work best. Even streaming videos or games works well (see video below).
- The recommendation is having the VNC server runs in a virtual machine because there, you can freely define the server display resolution.
- Maximum supported server resolution is 1024x1024px - anything larger cannot fit into a 3DS texture buffer and thus cannot be rendered to the 3DS screen.
As a rule of thumb - The larger the server display resolution, the worse the performance.
- This is because the server display is transferred to the 3DS in full and TinyVNC scales the image to fit the 400x240px 3DS screen.
- AFAIK, the only server supporting server side scaling is UltraVNC which does not perform well with TinyVNC, so that feature is not included.
- In general, a server resolution of 800x480 is great for web browsing etc.
- However for video or game streaming, the server should have a display resolution of 400x240px or even less.
Audio streaming is supported (mp3 over HTTP) but requires an additional server software running on the VNC server machine. This can be easily setup using VLC media player. Below is a short tutorial how to do that.
Audio server setup with VLC on Win10
I. Set up an audio device that captures all your system sounds
- Go to Start Menu and search for Control Panel, open it.
- Go to Hardware and Sound > Manage audio devices and choose tab Recording.
- Right-click in the list of recording devices and check Show disabled devices.
- Check if you have a Stereo Mix device.
- If yes, right-click the device and click Enable. This recording device will now record all your sounds that your system plays and provide it to whatever program is interested.
- If you don't have a Stereo Mix device, you can install something similar using VB-Cable. After installing this software, you need to choose the playback device CABLE Input as your default.
II. Set up VLC to provide your system sounds in a stream
- Start VLC and choose Media > Stream.
- Choose Tab Capture Device:
- Set Capture Mode to DirectShow.
- Set Video Device Name to None.
- Set Audio Device Name to the audio capture device from Section I. Then click on button Stream.
- In the Source-Screen, click Next.
- In Destination Setup, select HTTP as New Destination and click Add.
- In the next screen, port 8080 and path "/" are normally fine.
- This is what you need to specify in TinyVNC settings as well.
- Now click Next.
- In Transcoding Options, check Activate Transcoding.
- Choose Profile Audio - MP3.
- Click on the little wrench to the right of the dropdown box.
- In Tab Encapsulation, choose MP3.
- In Tab Audio Codec, choose Codec MP3 and a desired bitrate.
- 96 should be ok, choose 64 or lower if you have isses with the bandwidth.
- Click on Save > Next > Stream.
Now VLC will stream all audio coming from the above audio capture device (which is ideally set up to capture all your system sounds) via HTTP-server on port 8080, path "/" as MP3 to clients who are interested in hearing. You can test this by directing your browser to http://<servername>:8080/, where <servername> should be the IP address of the computer you're running VLC on.
Last but not least, you need to configure the port and path (8080 and "/" if you followed the instructions above) in TinyVNC server settings. You're now done and should hear your systems audio when conneting to the VNC server.
Note: During first start, TinyVNC will write its config files to the SD card. You can customize the file /3ds/TinyVNC/keymap to customize button mappings.
Controls
Default mappings:
A - a-key
B - b-key
X - x-key
Y - y-key
L - Right mouse button
R - w-keys
ZL/ZR - 1, 2-keys
C-Pad - Cursor up, down, left, right
D-Pad - t, g, f, h-keys
C-Stick - i, k, j, l-keys
Select - Shift key (for alternate button funtions)
Start - Quick function menu
Combination keys:
Shift+A - A-key
Shift+B - B-key
Shift+X - X-key
Shift+Y - Y-key
Shift+L/R - Q, W-keys
Shift+ZL/ZR - 3, 4-keys
Shift+C-Pad - Cursor up, down, left, right
Shift+D-Pad - T, G, F, H-keys
Shift+C-Stick - I, K, J, L-keys
Shift+Start - Disconnect
The touch screen acts as a touchpad for mouse control (tap-to-click, double-tap-to-double-click, tap-and-drag).
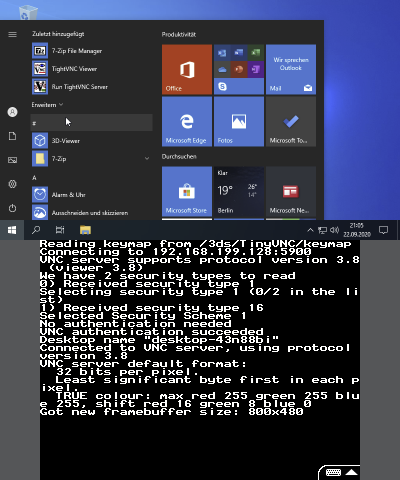
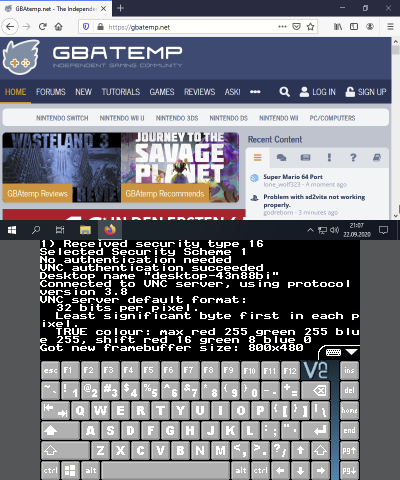
Screenshots
Media
Playing "Breath of the Wild" on my Nintendo 3DS (Badda)
How to use TightVNC (ITJon)
Changelog
v2.0
- Support of 2nd VNC connection on bottom screen.
- Added vJoy-UDP-feeder clients: one for buttons and joysticks, another for motion controls.
- Added Cemuhook server: sends motion controls, buttons and joysticks to clients (Cemu, Yuzu etc).
- Added server (if supported) or client side scaling. Now, screens >1024px size are scaled automatically.
- TinyVNC can be run without VNC-connection (e.g. only cemuhook server or only mp3 stream client).
- Added quick command menu to control connection settings.
- Added "shift"-key to enable button combinations.
- Lots of minor optimizations and bugfixes.
v1.0
- CIA/3DS version.
- Added streaming audio support (mp3 via HTTP).
- Added on-screen keyboard.
- Configurable scaling (on/off).
- Key value to toggle bottom backlight (8).
v0.9
- Initial version.